How to use PositionMaker on iPhone v1.1.0
Thank you for downloading my app!
If you have any questions about my app and/or this article,
please feel free to leave comments.
Tutorial
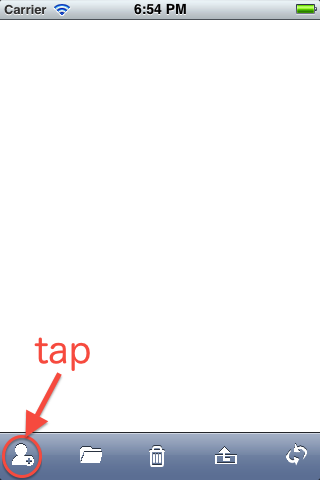
This is a screenshot of what you see
when the app is running.
Let's tap the button on the left end of
the toolbar. You'll see the "Management
View".
Management View
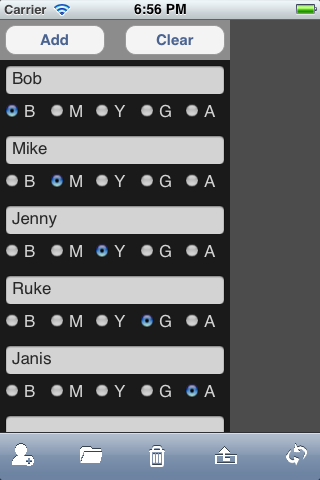
Type out names, select colors, and then
tap the "Add" button.
Please care to use The "Clear" button,
that will erase all names you typed.
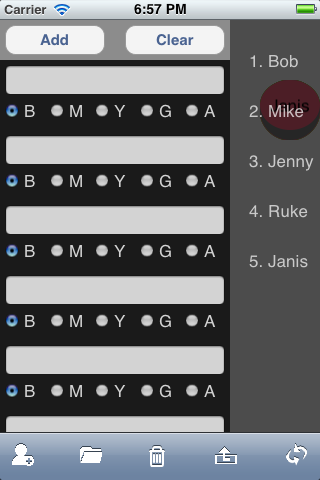
Once you add members, the right-hand
gray view shows the list of members on it.
When you want to delete someone,
swipe the gray view to the left and just
tap the red thing with white bar on the
list.
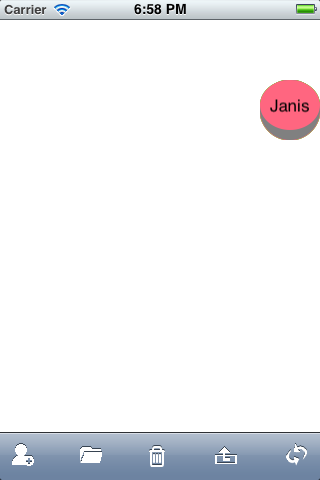
To quit the "Management View", touch
the button again.
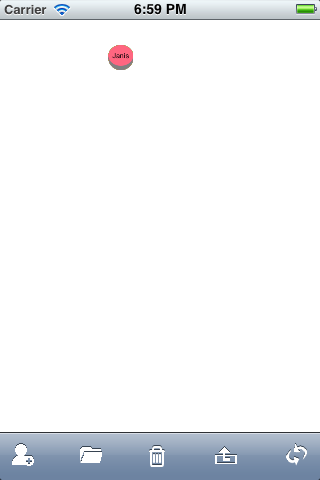
You will see A round figure on the upper right.
Those figures are labeled as you type.
Double tap the white area to zoom down.
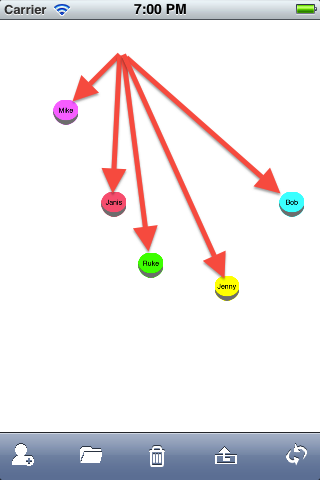
Drag and Drop those like this.
Recording
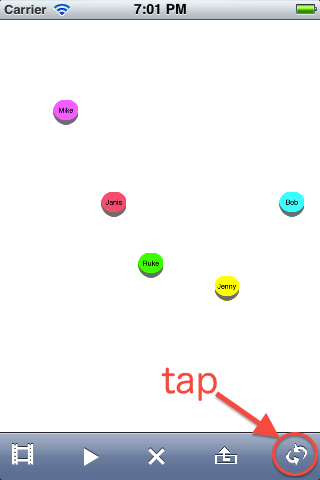
Let's start recording.
Tap the button on the right end of the
toolbar to change buttons on it.
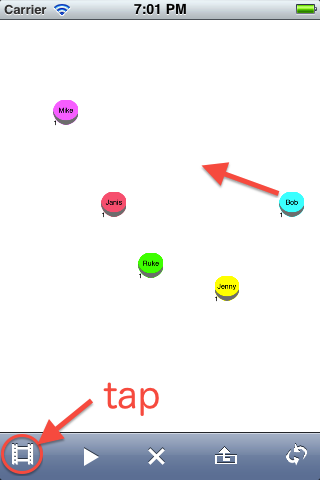
Tap the "REC" button on the left end of
the toolbar to start recording.
You'll find a number on the lower left of each figures.
Those numbers show "how many
movements the figure has".
Let's drag Bob to the center, and check
the number increases.
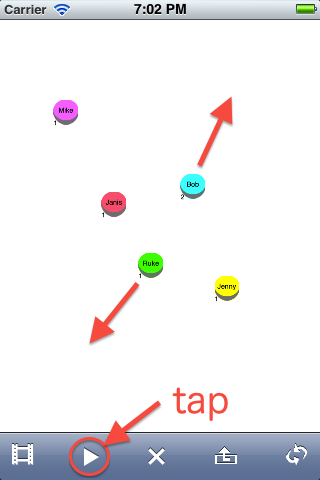
Again, drag/drop Bob and Ruke.
Finary, tap the "REC" button to stop
recording and the "Play" button on the
next to see how it works.
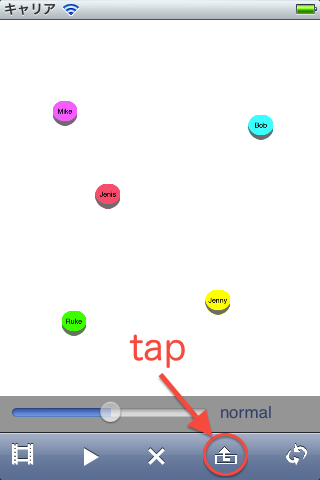
Tap the button on the 2nd from the right end.
You can change the speed of movement by the slider controller.
Alignment
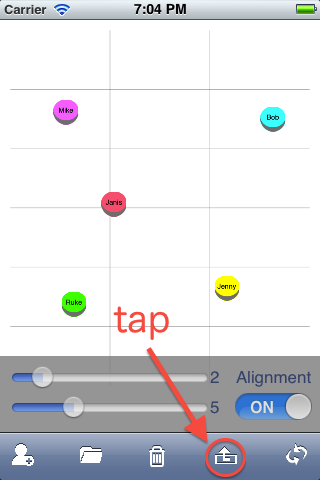
Tap the button on the right end to
change the menu.
Then, Tap the button on the 2nd from
the right end.
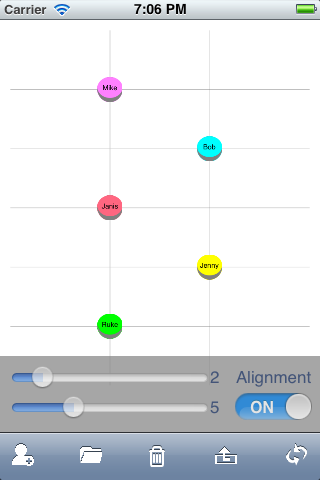
Drag the slider controller to decide how many lines you want.
The upper is for vertical lines, the other is for horizontal ones.
After that, tap the "Alignment" toggle switch to activate the alignment function.
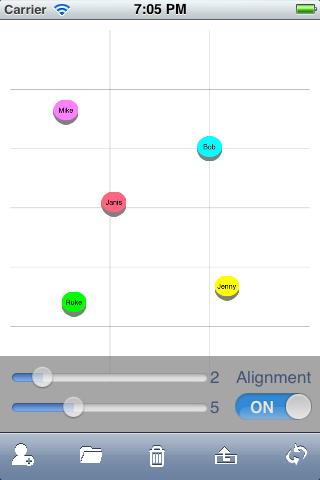
It's easy to see the difference when you move Bob.
Bob might skip to the nearest intersection.
This is what the alignment function does.
Selecting multiple figures
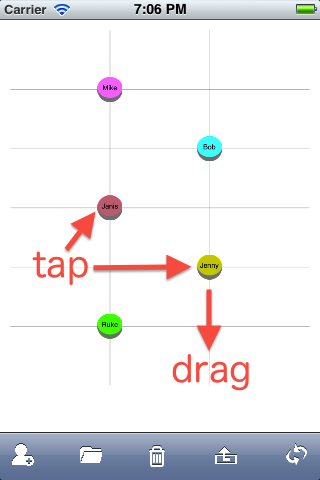
Only one figure can be dragged at once? No way.
Just tap figures one by one, then drag/drop one of those.
Selected figures are grayed.
To cancel the selection, tap the figure
you want to deselect.
Note that a tap on the empty space
cancel all selections.
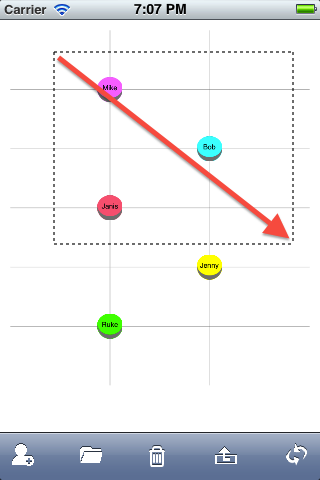
When you double tap & start dragging
from the empty space, you can select by
area.
Figures inside the rectangle with dashed line are going to be selected.
Save and load
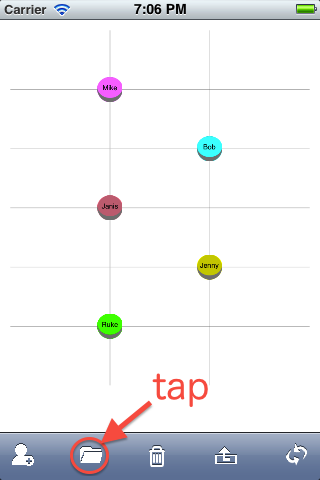
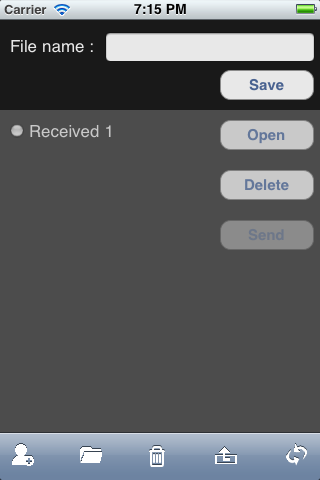
The "File" button on the 2nd from the left end is to show the "File Menu View".
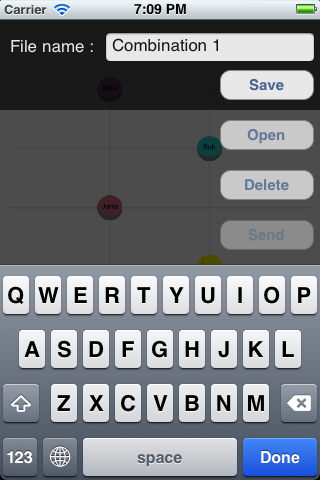
Names, positions and movements will be saved.
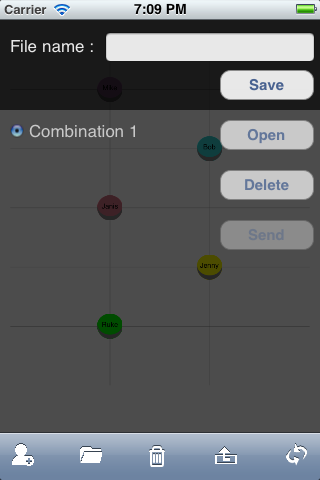
To load a file, tap a file to select, then tap the "Open" button.
Use The "Delete" button to remove the file selected.
Send Files
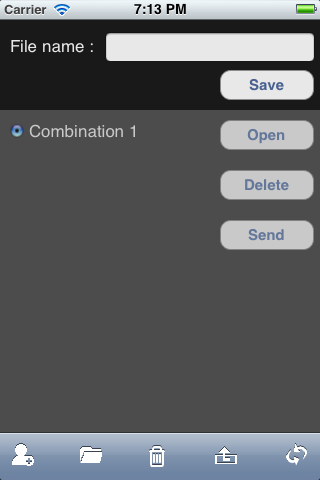
Since version 1.1.0, you can send/receive a file via Bluetooth!
(make sure Settings->General->Bluetooth is ON)
When 2 or more iOS devices are nearby, tap the "File" button of all of them.
Before long, "Send" button will be enabled.
If not, re-open the File Menu View.
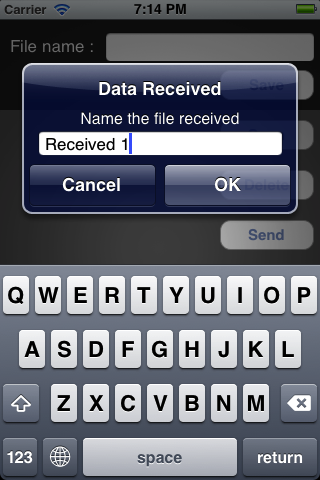
Tap the "Send" button.
Then this popup will be shown on the receiver.
Name the received file.
Clean up
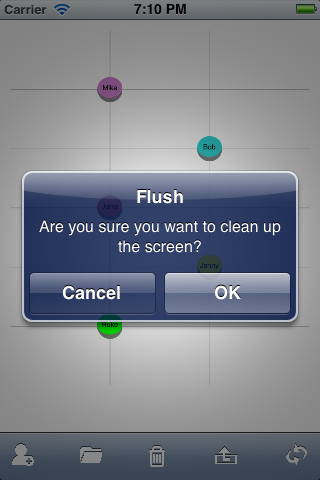
You will see this confirmation to use the "Flush" button on the center of the toolbar.
This function deletes all figures and recordings at once.
It cannot be undone, so please be sure to save those into a file before you fire it.
At the last...
If you have any questions, please leave a comment.
New ideas for improvement are welcome!
I'm developing very slowly, though...
I hope you enjoy it!
